
Blogging is an amazing way to connect with clients and become a go-to resource about your area of expertise. But blogs are most useful if they’re easy to find and read!
This is where categories come in. You can organize all the blogs on your site into categories, making them manageable for you and your readers. Think of it like putting everything into folders for quick reference. As an added benefit, readers can click a category to see more similar blogs, keeping them on your site longer (hello, better SEO!).
Here’s how you add Categories to your blogs in WordPress:
———
The WordPress menu system provides the means to add categories to a menu, either at the top of the menu bar or in a drop-down list.
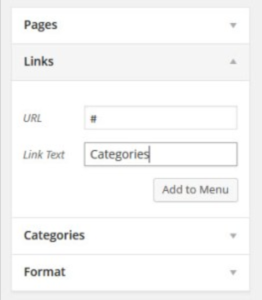
Start by browsing to Appearance – Menus. Select the menu where you want the link to be displayed. Create a new Link menu
item and use # as the URL with the link text of categories. Then click the Add to Menu button.
Creating The Placeholder
Select which categories you want to be displayed within the dropdown list. After you add the categories to the menu, make sure to drag and drop them so that they are a child link underneath the parent menu of categories. Look at the following screenshot for reference.
Arranging The Menu Items
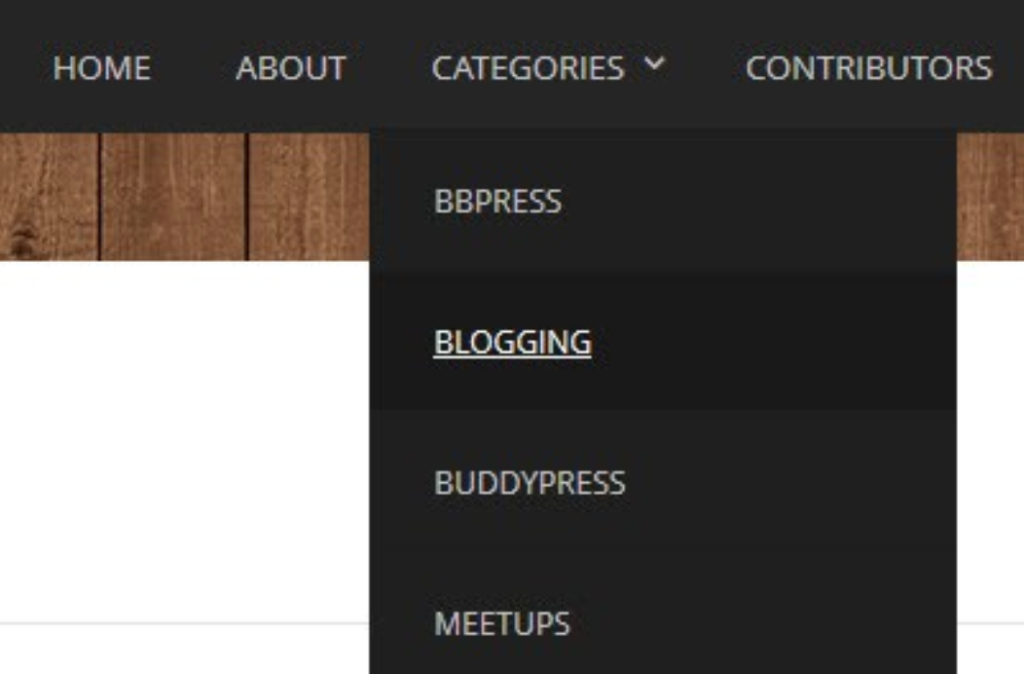
After you’ve arranged the category links, save the menu. Visit your front page and hover over the categories link to make sure the dropdown list works correctly. The parent menu item of categories acts as a placeholder which is the ingenious part of the tutorial.
Drop Down Menu In Use
Don’t want it in a drop-down menu? Instead, go to Categories, select the Category you want, and drag it onto your menu bar. Now you’ll see this Category right there in your menu!
———
Looking for something more customized? We can help! Give us a call today to discuss your needs for your site.